Hiking Guide: Ashland Reservoir Trail

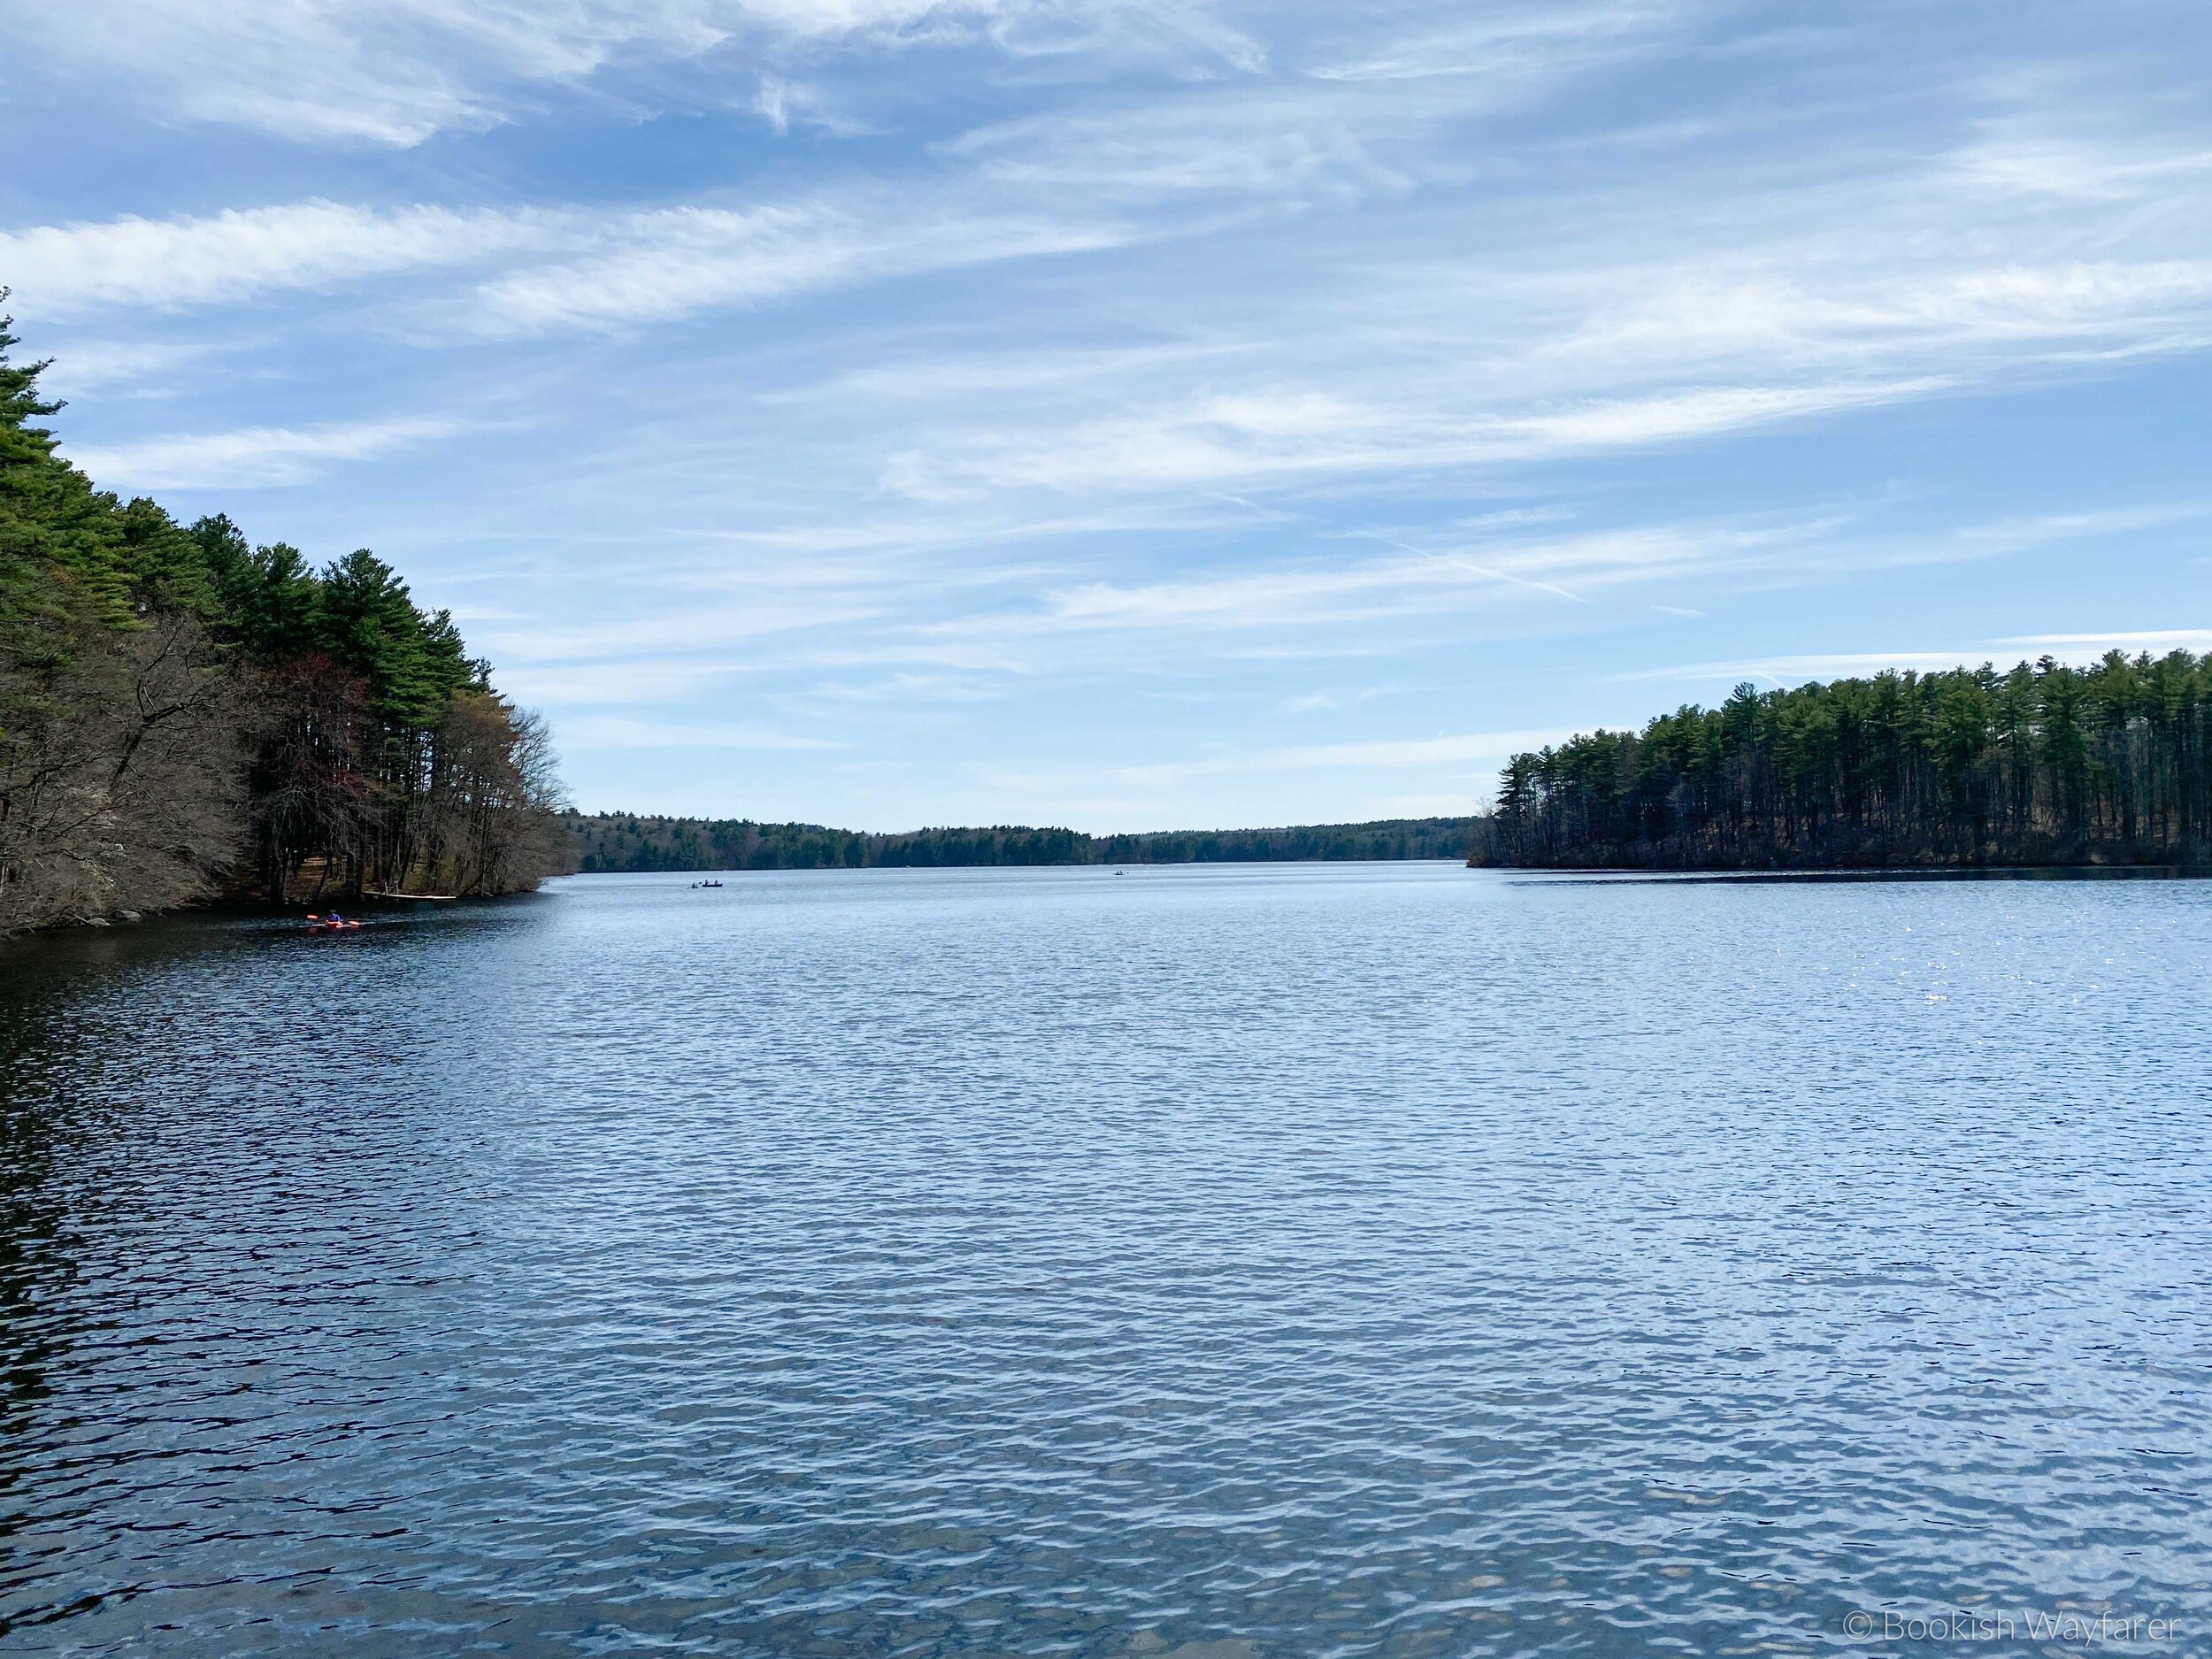
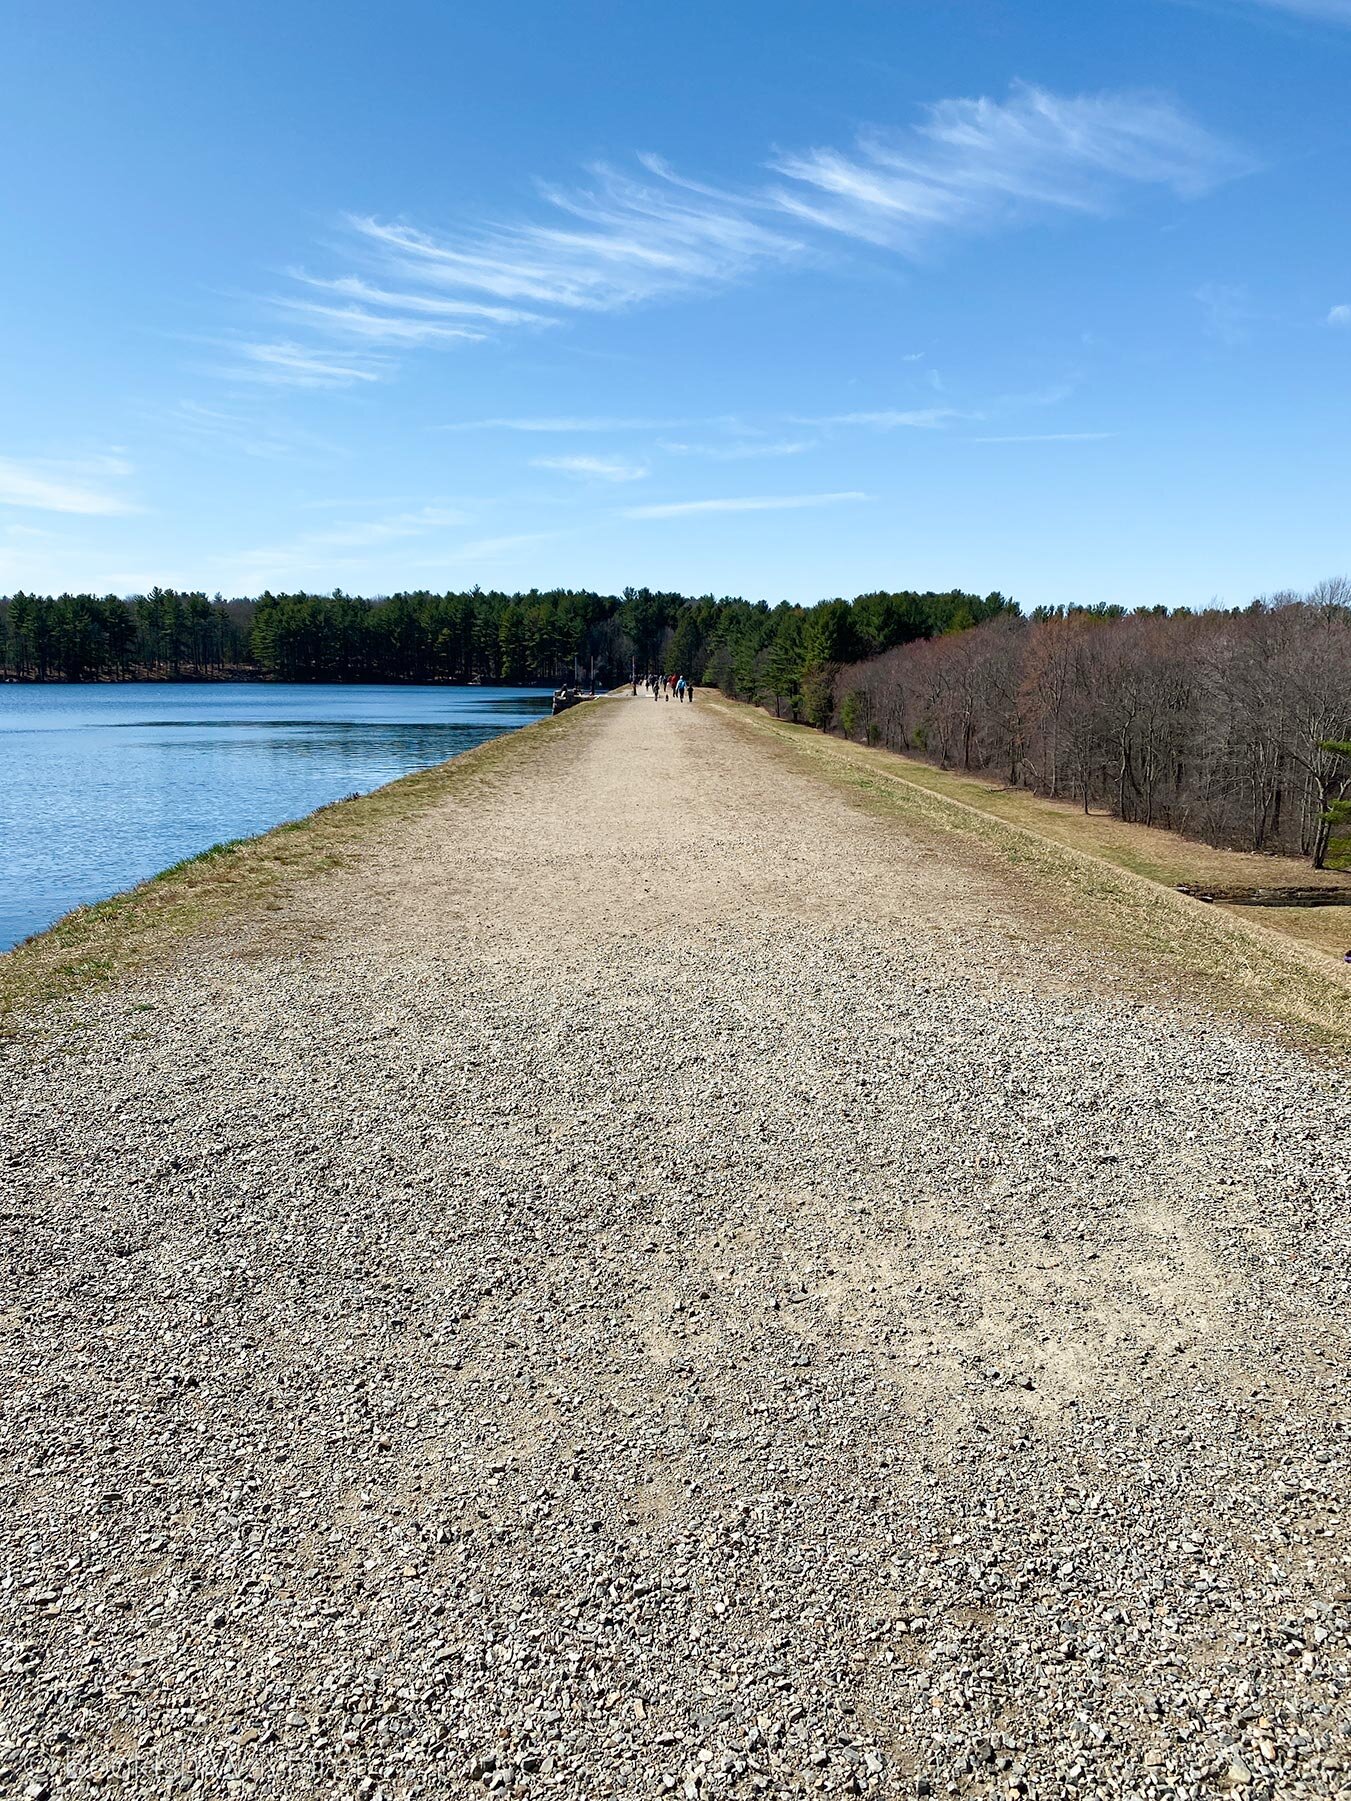
Looking out at the Ashland Reservoir
Some links in this post are affiliate links, meaning I will earn a commission (at no extra cost to you) if you click through and make a purchase. For more info, please see my disclaimer.
Trail Basics
Trail name: Ashland Reservoir Trail (AllTrails map)
Location: Ashland, MA, USA
Length: 3.8 miles (includes the walk from my car to the trailhead)
Type: Loop
Elevation gain: 184 feet
Time to complete: 1 hour and 39 minutes*
*We stopped quite frequently to take photos, so the trail could certainly be finished in less time.
Difficulty: Easy
Overall rating: 4.0/5.0
My Thoughts
Ashland Reservoir Trail is a scenic, easygoing hike. The trail skirts around the edge of the reservoir through woods and over the Ashland Dam. The crossing of the dam is a highlight of the hike, as it boasts a lovely vista of the reservoir and surrounding forest.
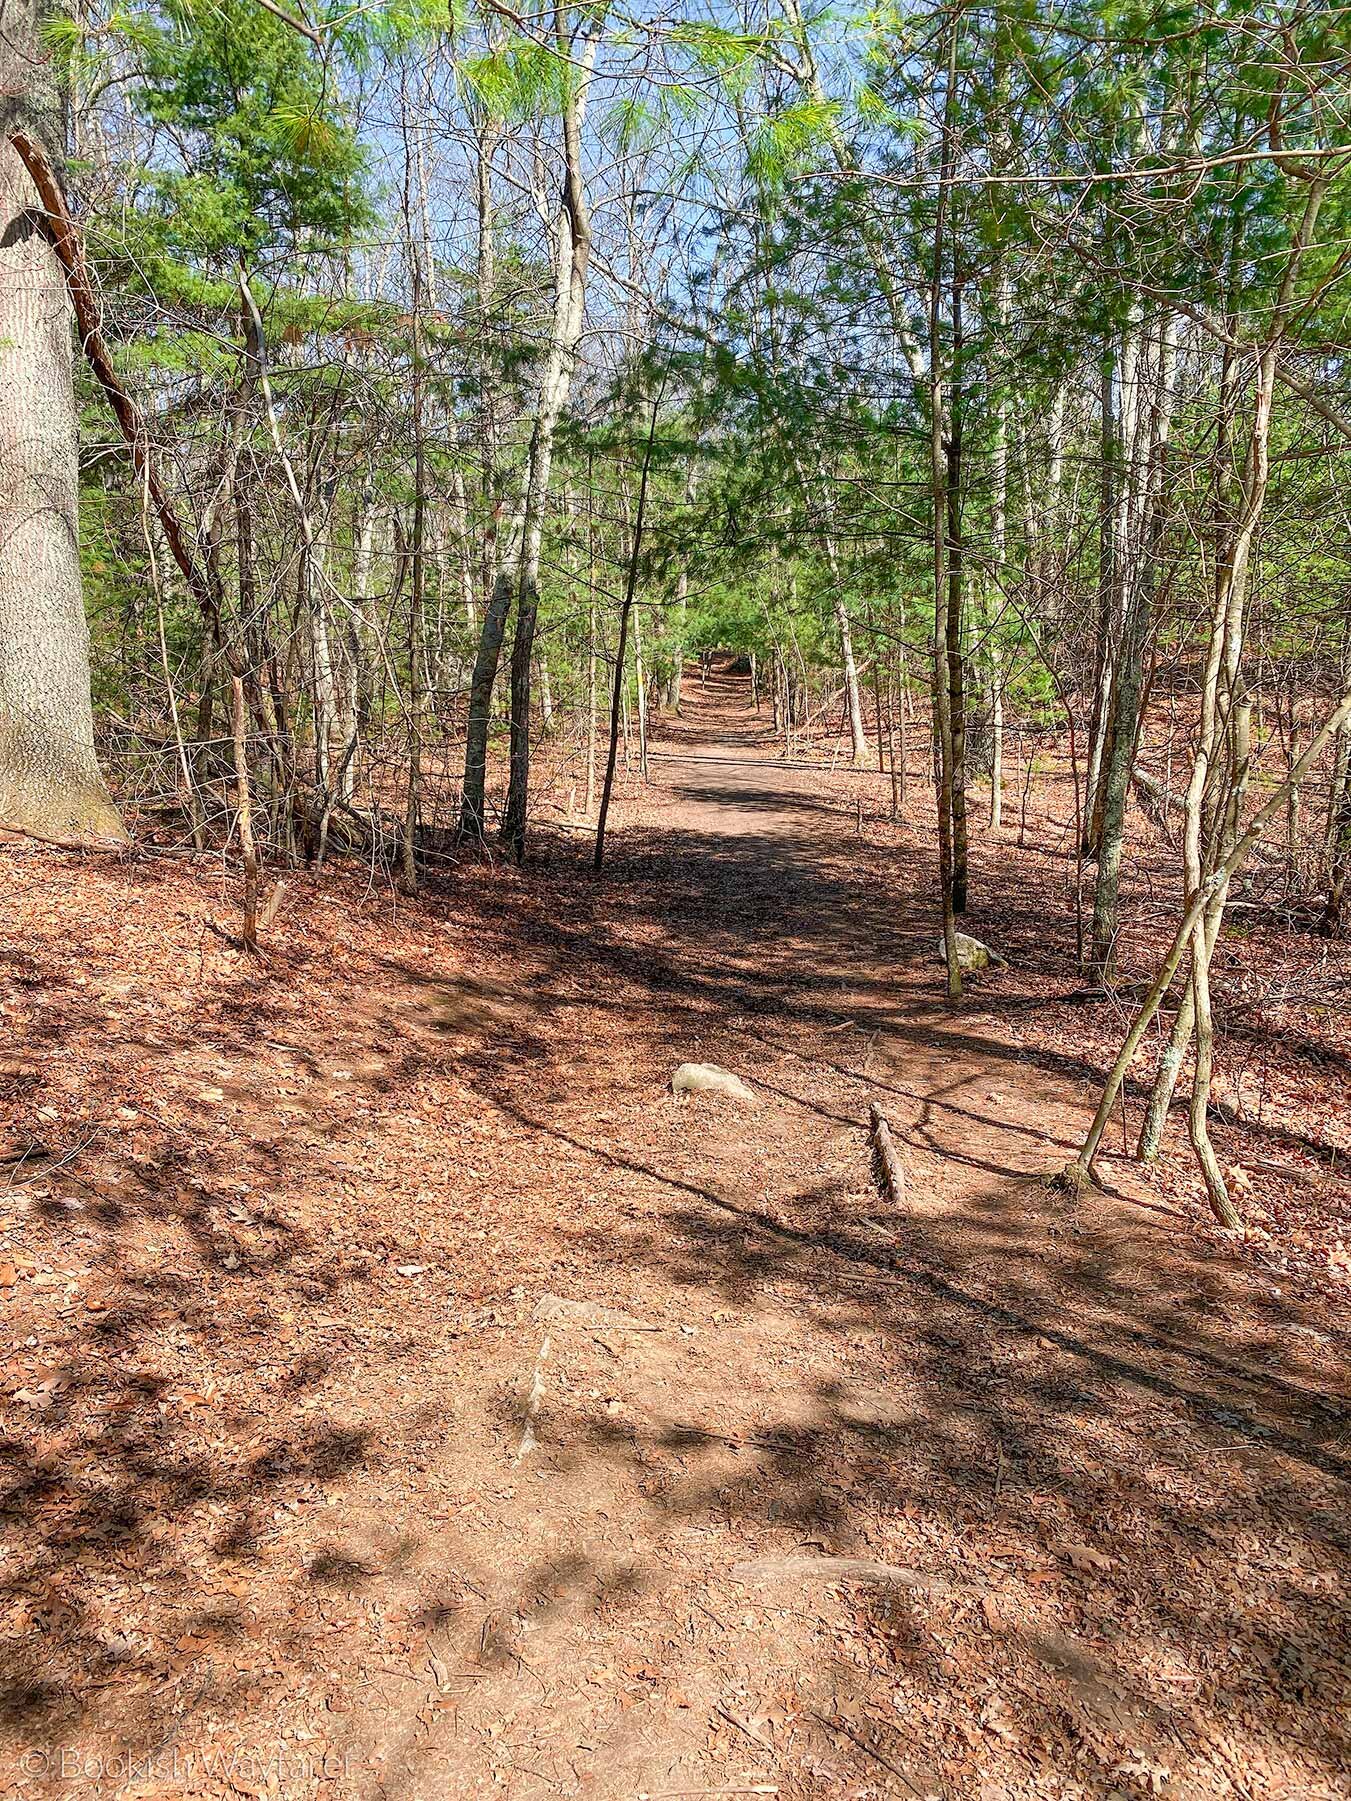
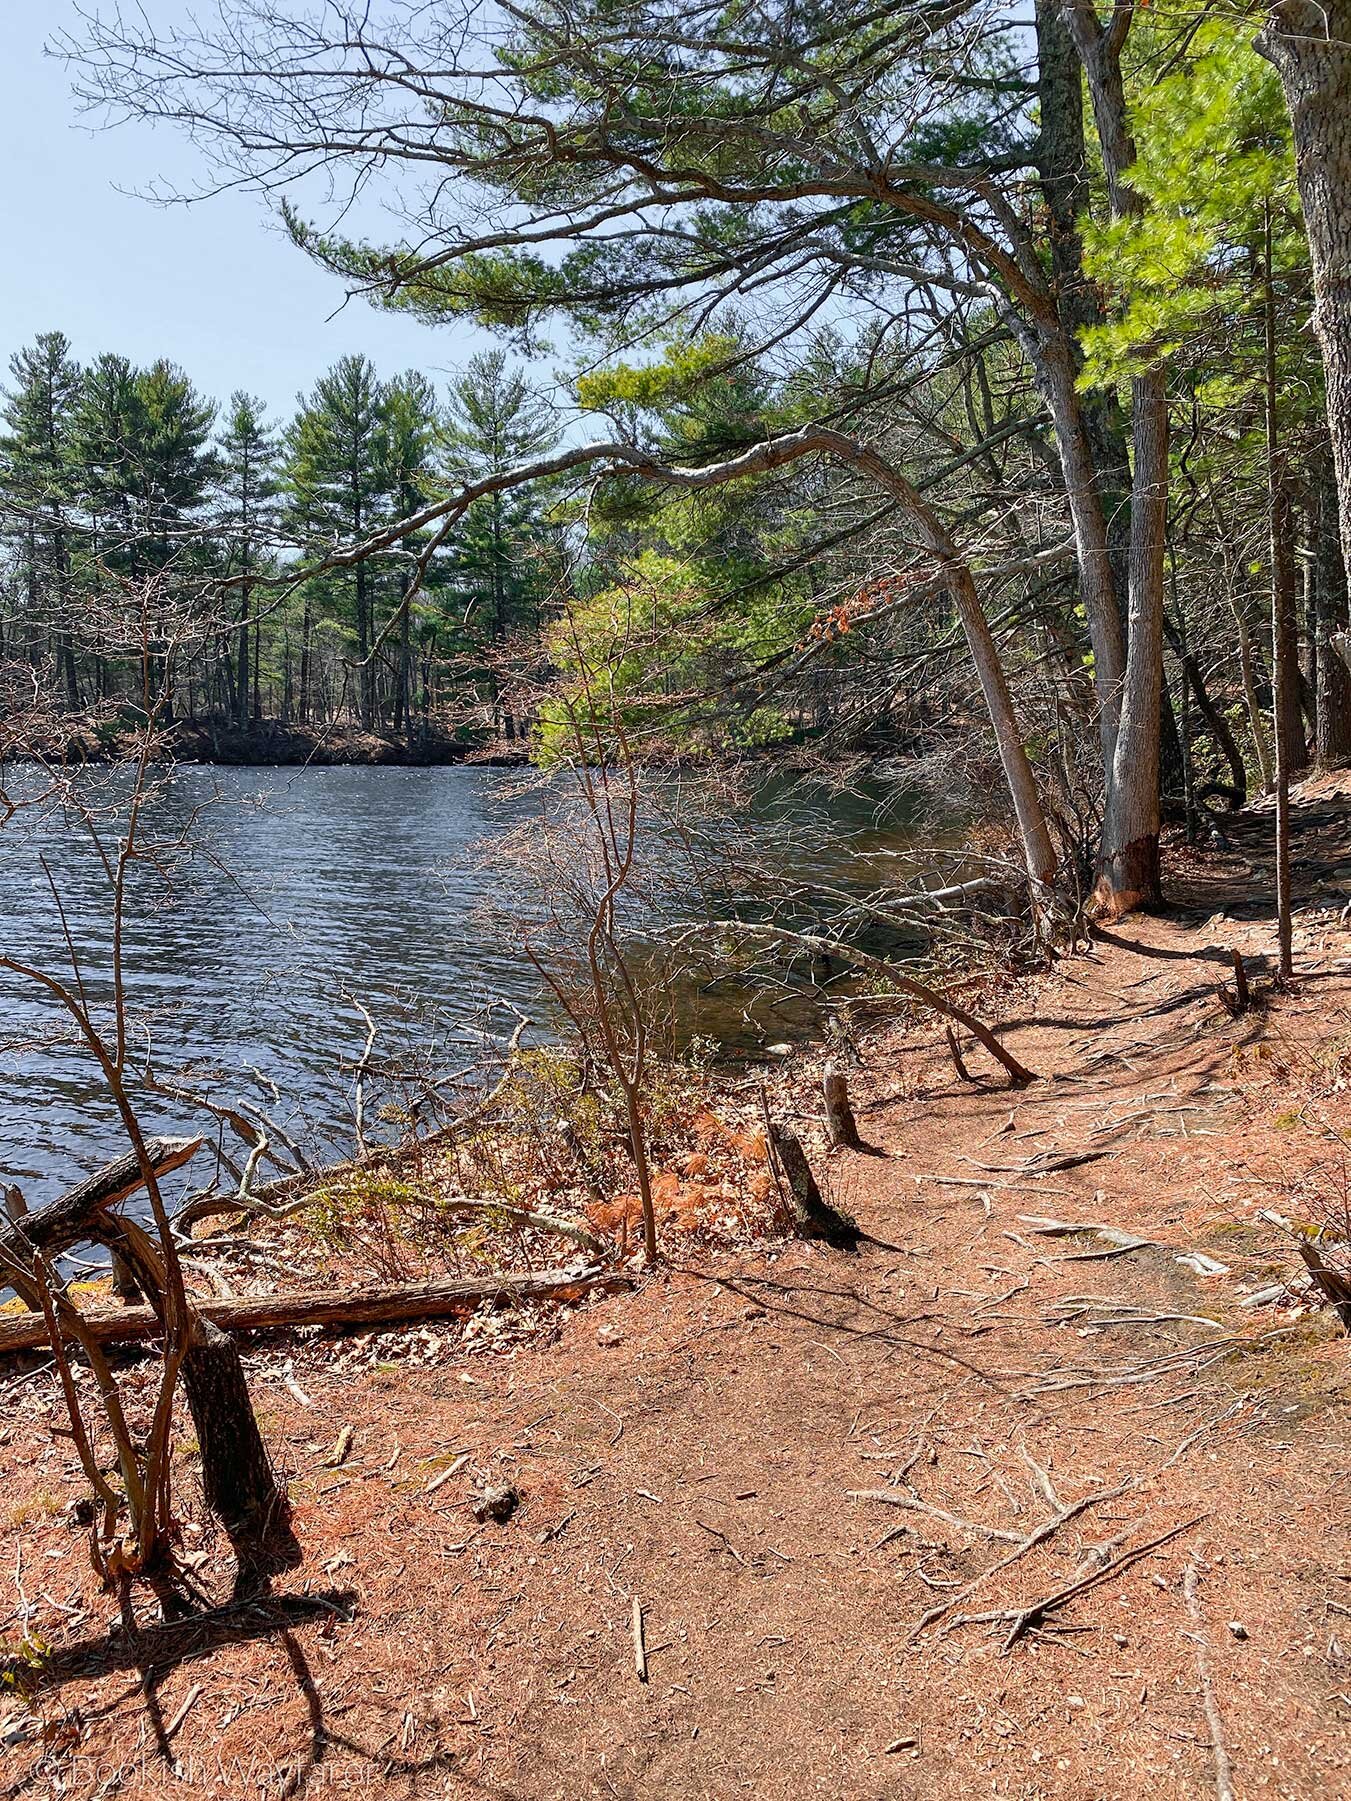
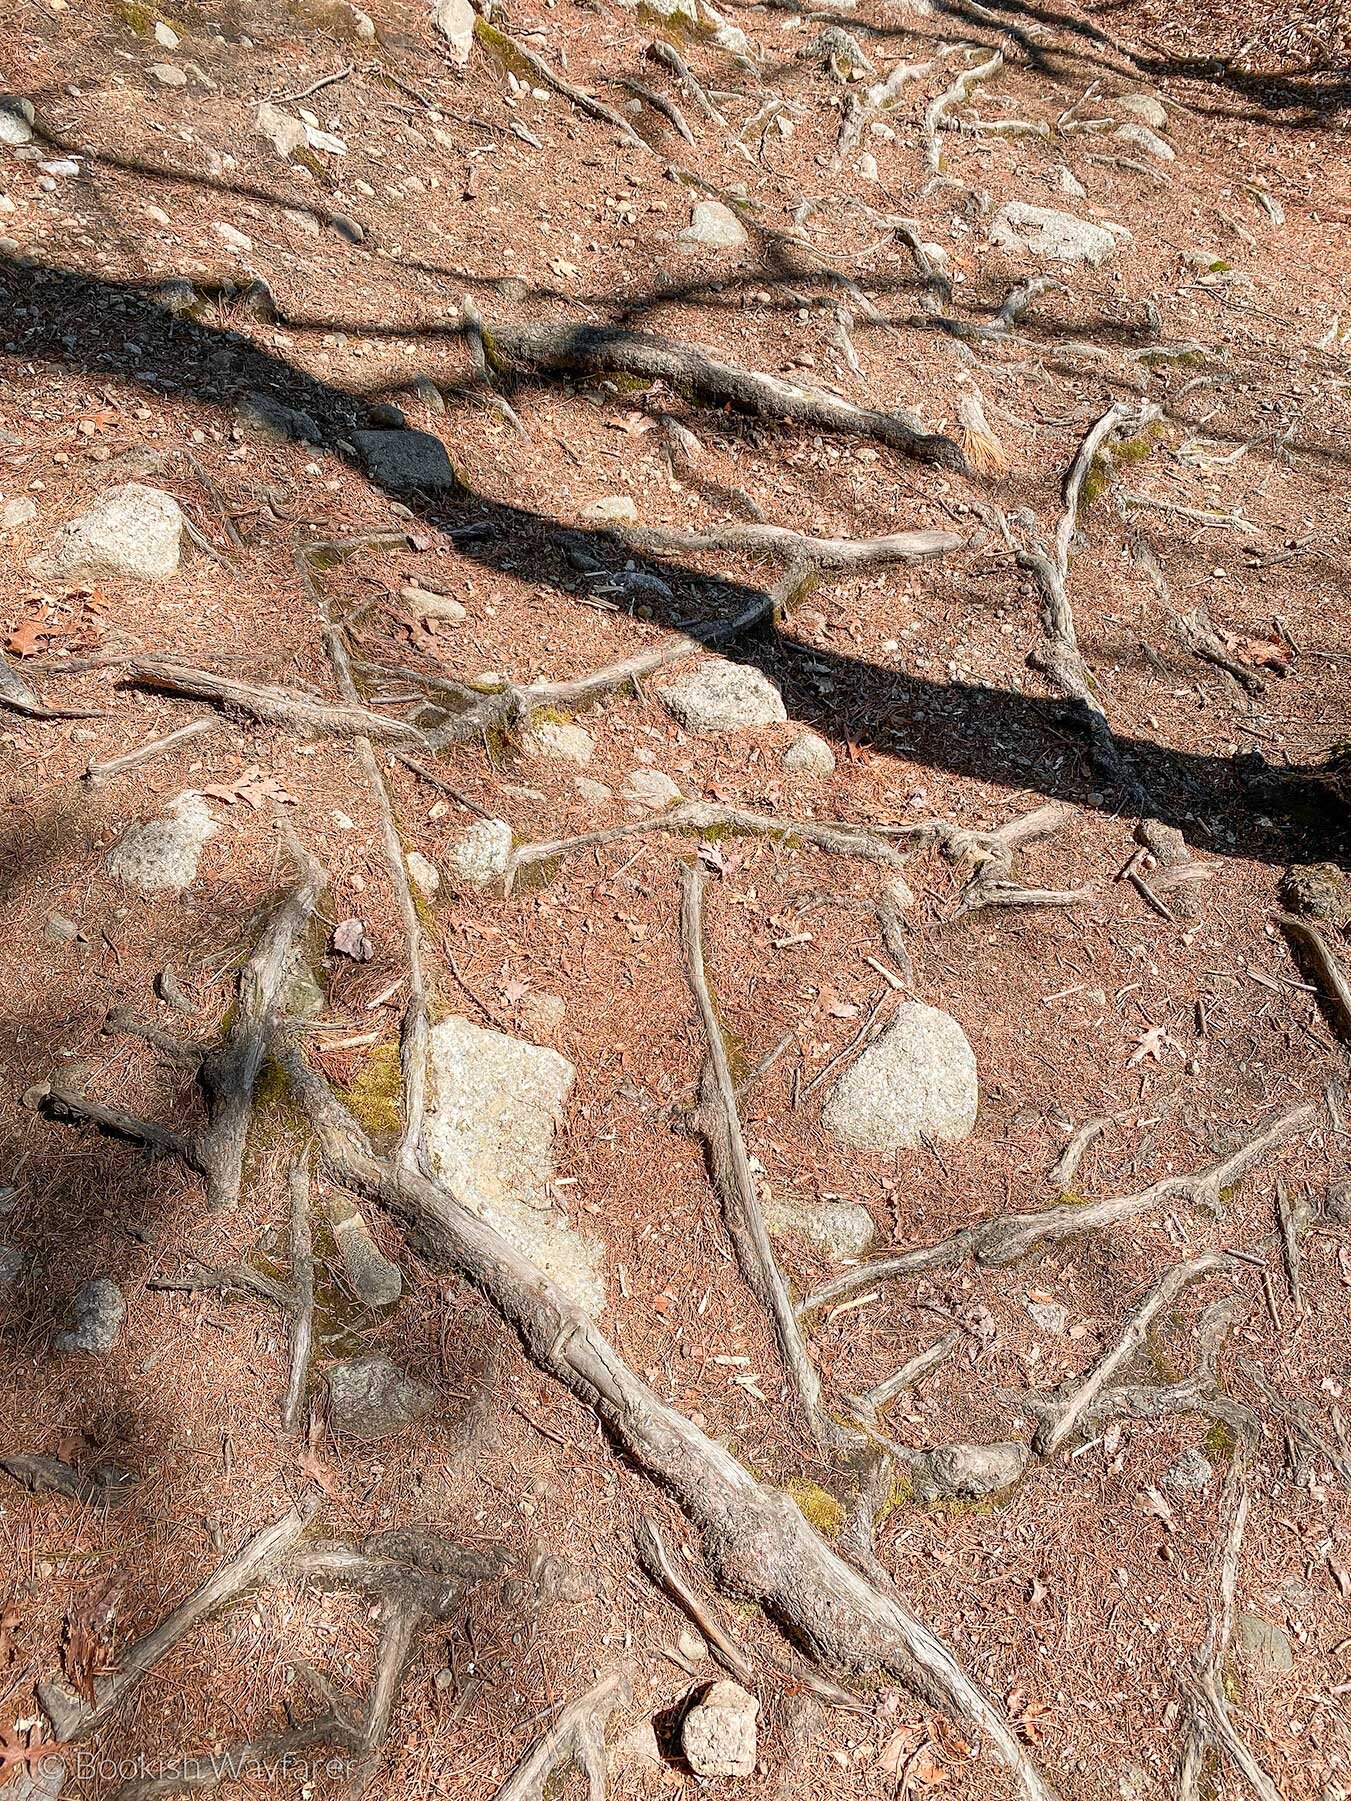
The trail itself is quite easy, but it could be better signposted. Parts of the trail lack any markers, so I had to rely heavily on my AllTrails map to make sure I did not go off course. There is practically no elevation gain, so you do not have to contend with an ascent or descent. The terrain, however, is uneven. The majority of the trail is on rocky, tree-root-laden dirt paths, so you need to watch your footing. That said, I completed the trail without any specialized hiking equipment. I wore sneakers and carried a backpack that had water and a few snacks. If I were to do this trail again, though, I might wear hiking boots due to the bumpy terrain.
Helpful Tidbit
Looking for gear recs?
Shoes: For less intense hiking trails with minimal ascent/descent, I prefer hiking shoes over boots. My current hiking shoe of choice is Hoka’s Anacapa Breeze Low. That said, this trail was on the bumpier side, so despite its lack of ascent/descent, hiking boots would’ve been useful. Sadly, the company that made my hiking boots went out of business (so I can’t recommend those), but when my boots inevitably need replacing, I think I’ll go with Lowa’s Renegade EVO GTX MID.
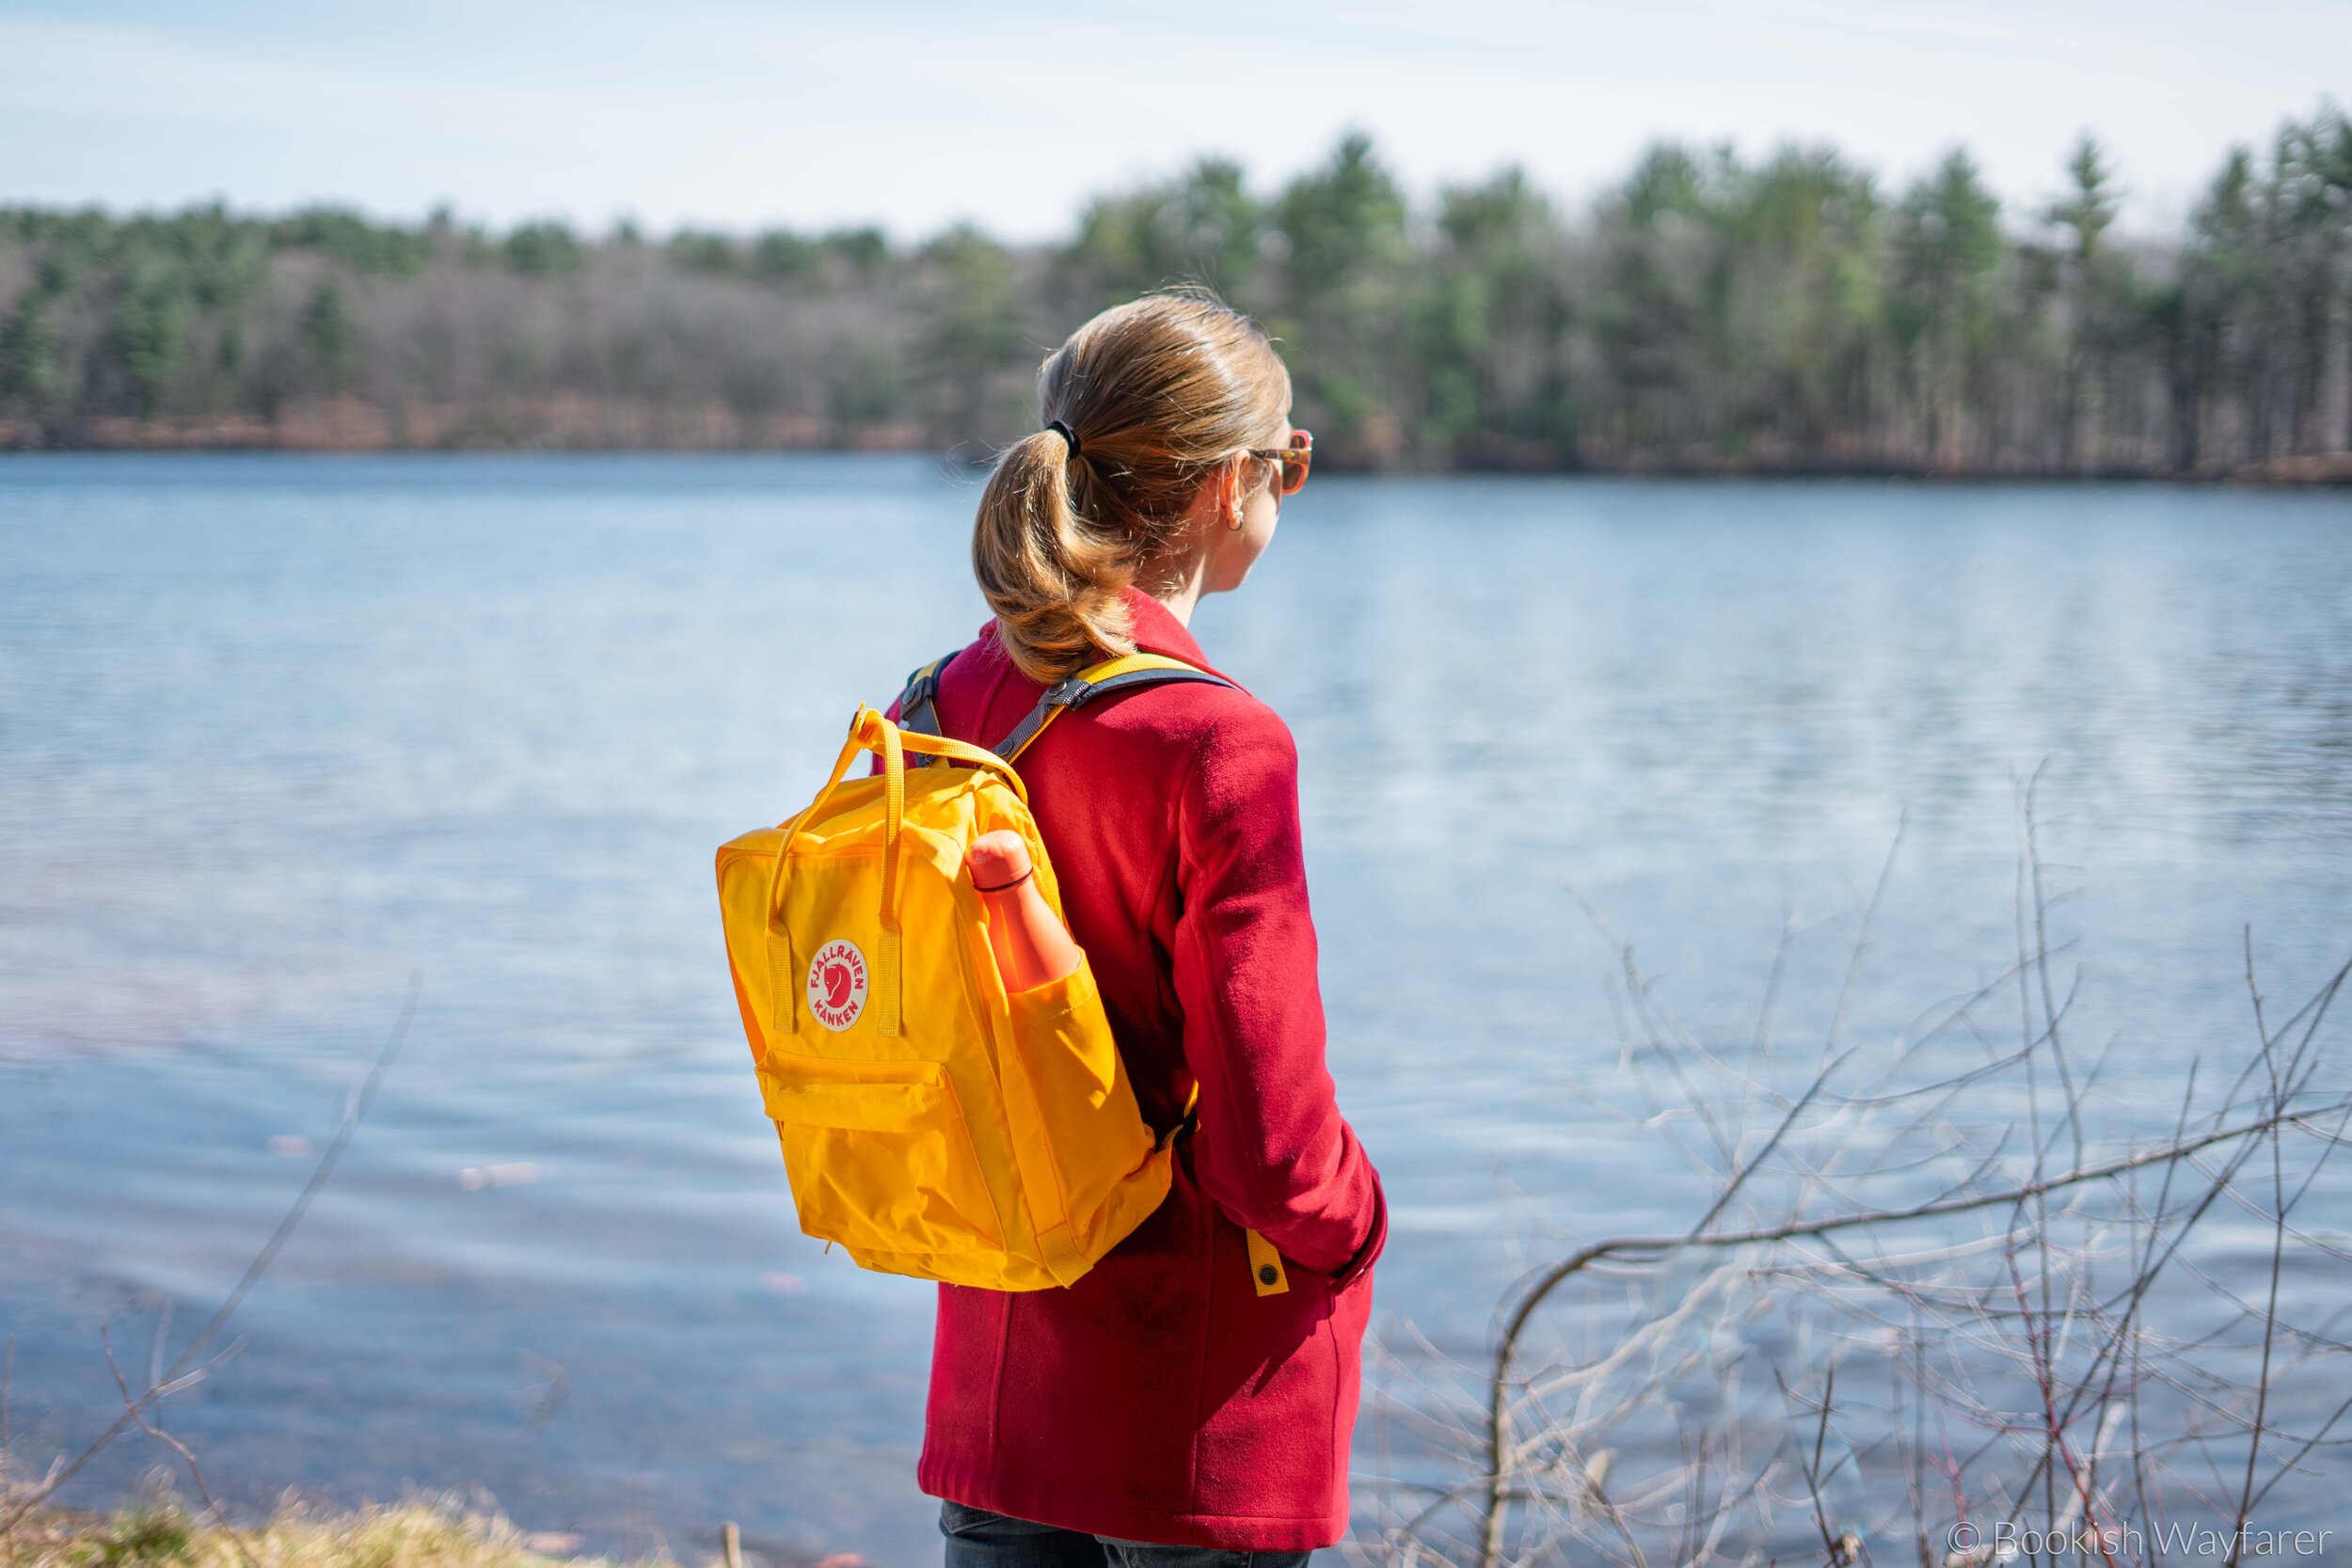
Backpack: I hiked this trail with my Fjällräven Kånken, but if you’re looking to invest in a good day-hiking pack, Osprey’s Talon 22 or Tempest 22 is a great option.
Water Bottle: I like to hike with a 16-ounce Nalgene water bottle, which I keep accessible in one of my backpack’s side pockets. I then pack at least one 48-ounce bottle inside my backpack, which I use to refill my smaller water bottle.
Note: If you’re using the Fjällräven Kånken, the Nalgene 16-ounce bottle will not fit inside the side pocket. You will need to use a narrower water bottle, such as this one from S’well.
The trail is fairly heavily trafficked. There were parts of the trail that were quiet, but as I neared the dam, beach, and parking lots, I came across quite a few people, including entire families. There were also a lot of dogs on the trail, and they were not always on a leash. So, if you are looking for a hike that will be peaceful and allow you to escape from the world, this isn’t it.
Overall
This is a decent, easy hike. It’s perfect for when you want to get outside but don’t feel up to a strenuous hike.
Have you done this hike? What did you think? Share your thoughts with me below!
-Julia
P.S. If you enjoyed this post, please consider supporting me on Buy Me a Coffee.